We can embed a
When selecting the

Video player in your website by setting a Layer as a Video.When selecting the
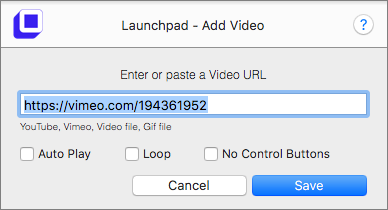
Video layer, we will be able to provide a link to a video, that will be presented on the website.
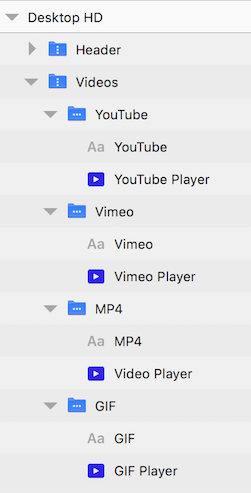
Supported video links are:
- YouTube
- Vimeo
- MP4
- Gif
The embedded video player can have these settings:
- Auto Play
- Loop
- No Control Buttons
Video Players Demo
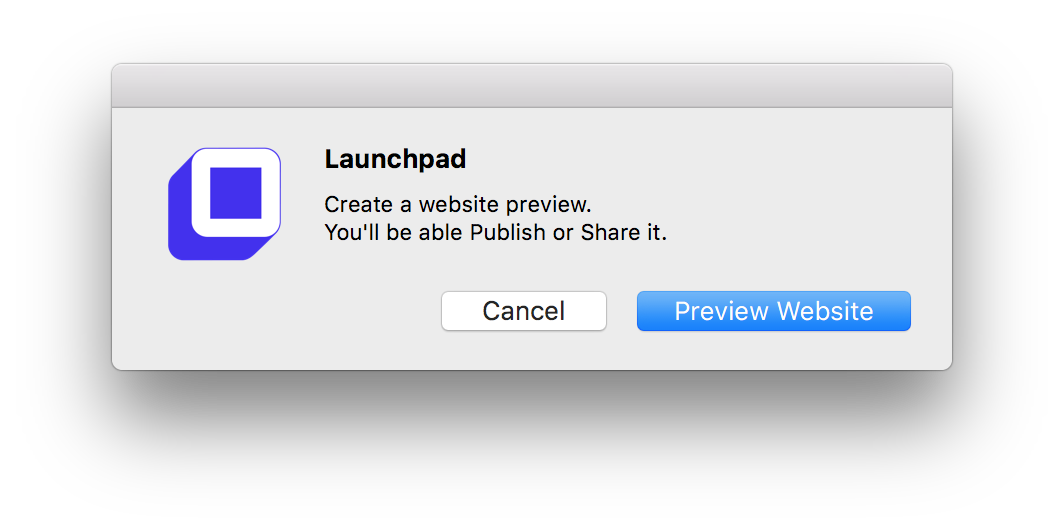
Publishing your website is a 2 steps process:
Preview- Create a preview website that only you know the link for.Publish- Once you decide the website is ready, you canPublishit.
- Each
Previewhas its ownversionnumber, which is incrementing every time your create aPreview. - You can create as many
Previewsas you want. - You can always
Rollbackthe live version to a previousPreview 
Preview
APreviewversion allows you to see your website in a browser before publishing it and making it live to the world.
- Each
Previewversion is assigned with a preview url. i.e https://launchpad.animaapp.com/preview/i9VcUWl - You can share this URL with anyone and they would be able to visit the preview website.
To create aPreviewversion:- Click the
Create Previewbutton. - Leave the
Selected Artboards Onlychecked or uncheck it if you want only the selectedArtboardsto be included. - Click
Create Preview - Depending on the size of the images, fonts, and amount of
Artboardsthis can take between a few seconds to about a minute. - Once ready, a dialog will popup and display the unique URL for the
Previewwebsite. - Click
Opento visit thePreviewwebsite.
- Each


